Saturday, January 20, 2024

The Worst Chocolate Chip Cookies

Sometimes you just need a good cookie.  

Whether you go crazy over chocolate drop cookies

like my husband does, or are more of a chewy chocolate chip oatmeal cookie guy or gal 

(which my dad claims are clearly a breakfast food) there is just something about a cookie that hits the spot.  Nine times out of ten, I prefer a plain old chocolate chip cookie.

I have been making Nestle chocolate chip cookies out of a tub of dough for a while now, and it was time to get back to some homemade chocolate chip goodness.  Then while I was over at Sugar Spun Run oogling her cheesecake recipe, I stumbled upon The WORST Chocolate Chip Cookie Recipe.  I had to try it.

I got my son to join me in the kitchen for this one, and we whipped up a batch of these.

Ingredients

  • 1 cup Imperial margarine melted and then cooled until no longer warm to the touch
  • 1 1/2 cups light brown sugar firmly packed
  • 1/2 cup granulated sugar
  • 2 large eggs at room temperature
  • 1 teaspoon vanilla extract
  • 1/4 cup maple syrup
  • 3 1/4 cups (415 grams) all purpose flour
  • 4 teaspoons additional flour (to sub in for the 2 teaspoons cornstarch, since we didn't have it)
  • 1 teaspoon baking powder 
  • 1 teaspoon baking soda
  • 1/2 teaspoon salt (reduced from original recipe, which called for unsalted butter)
  • 2 cups semisweet chocolate chips (half regular sized, and half mini)
We started out by stirring together the melted margarine and sugars.  


My son kept stirring as I added the eggs, one at a time.  We stirred in the vanilla extract and the maple syrup.  Ours was a bit runny, and we were not sure if the cookies might end up flat because of it.  More on that, later. We mixed the dry ingredients in a separate bowl, and added them slowly into our wet ingredients to make the dough. Finally we stirred in our chocolate chips. We covered the bowl, put it in the fridge for at least half an hour, and then scooped the dough out to bake.  They went into the oven, at 350F for 13 minutes and were allowed to cool on the cookie sheet afterward.

The resulting cookies were a little flat.  I forgot to take a picture. They weren't very photogenic, to be honest. But my, were they tasty! Crispy on the edges, and with a lovely flavor.

The next day, I baked up some more of the dough, and tried putting the dough 


into muffin tins


like so


to prevent them from spreading too much.


The texture on the cookie-pucks that resulted was not amazing. The middles barely got cooked. And I like cookies a little dough-y, so from me, that's saying something.


The next day, I baked up yet another tray of them. And, oh my! They were perfect. Was it the extra time in the fridge that helped them set up better? I am not sure. More experimentation will definitely be in order. But this recipe is a keeper!

What are your favorite cookies?

Friday, January 19, 2024

Chicken Pot Pie

For whatever reason, I got it in my head that I wanted to make a chicken pot pie from scratch.


I have only done this one other time that I could remember.  But I had seen what looked like a good recipe for a butter-free pie crust.  (Please be warned that Ben Starr uses language that is a bit salty in his videos on occasion.  His recipes, from what I have tried, are excellent.)


I used the recipe for the savory crust, with a few minor adjustments, to make it dairy free.

6.7 oz (1 1/3 cups) all purpose flour
1 tsp (6 grams) Kosher salt
1 tsp each of garlic powder, onion powder, and Italian seasoning
1/2 tsp black pepper
2.5 oz (1/3 cup) extra virgin olive oil
Subbed for buttermilk: 3 generous Tablespoons almond milk with 1 teaspoon of lemon juice.

For the pie itself, I used a chicken pot pie recipe I found on Allrecipes, subbing in my homemade crusts for the pre-made crust called for in the recipe.

Ingredients (and substitutions):
  • 1 pound skinless, boneless chicken breast - cubed
  • 1 cup sliced carrots and 1 cup frozen peas (subbed for two cups frozen carrot and peas mix. This turned out to be too heavy on the peas for me)
  • 1/2 cup sliced celery (plus more, see below)
  • Added 2 potatoes, peeled and cubed
  • 1/3 cup Imperial margarine (subbed in for butter)
  • 1/3 cup chopped onion
  • 1/3 cup all-purpose flour
  • 1/2 teaspoon salt
  • 1/2 teaspoon black pepper
  • 1/4 teaspoon celery seed (subbed for extra celery, only because I didn't have any celery seed)
  • 1 3/4 cup chicken broth
  • 2/3 cup milk (subbed almond milk)
I didn't take step by step photos, as I had not yet resuscitated my food blog when I cooked this. So, if you would like step by step pictures, head over to Allrecipes.

Essentially, you put the filling items (chicken, carrots, peas, celery, and potatoes) in a pot and boil it for 15 minutes.  Then you drain the boiling water off.  

While that is boiling, you will melt the margarine and sauté the onion until it is soft, which takes about 6 minutes.  Then you stir in the flour, salt, pepper, and (if you have it) celery seed.  I'm curious, is celery seed something that you regularly have on hand in your kitchen?

Then you stir in the chicken broth and almond milk. Reduce the heat to medium-low and let it simmer until it has thickened up like gravy. This takes another 5 to 10 minutes.

Now you dump the cooked and drained pie filling into the bottom prepared crust, and pour the gravy over it.


Put the second crust on top, seal the edges, and make some slits for the steam to escape.  I cut out little flower shapes instead, because it amused me to do so.


Cosmo, a frequent observer in my kitchen, seems to approve.


I put the extra bits on top, because why not?  And then it was ready to go in the oven.


At this point, while the pie was baking for about 30 to 35 minutes, I surveyed my kitchen.  Yikes!  If having a messy kitchen is an indication that someone is cooking from scratch, then I definitely must be doing it right.

By the time I had cleared the mess away, my pie had gotten just a touch of golden brown on top.  I probably could have left it in for a few more minutes, but I was getting hungry, and it still needed to cool for about 10 minutes before serving.


The result was delicious!  If only this type of pot pie dinner suited the tastes of the rest of Team Schmidt.  Ah well.  I will have to find others to enjoy it with me again sometime.

While writing this blog entry, I came across a recipe for chicken pot pie from The Pioneer Woman that looks delicious, as well.  Her recipe calls for a single crust, which I like the idea of (since I usually leave some crust on my plate when I go back for seconds).  Maybe next time I will give that recipe a try.  Yum!

Thursday, January 18, 2024

Breakfast Sandwich

For a while now I have been on the hunt for a protein filled breakfast that my son would enjoy. His current favorite breakfast is a single pancake. I felt that we could do better for this growing boy. So I was elated when he tried a breakfast sandwich made from my homemade sourdough english muffins and pronounced it a winner. 


Awhile back, I had purchased this little doohicky in the hopes that it would help me make breakfasts for my son that imitate the egg on the McGriddle sandwiches that he enjoys. So I dug that back out, and spritzed it with a little cooking spray.  (The picture below is when I was making a second sandwich, which is why the left side of the container has steam droplets on it. You needn't put water in there with your egg unless you want to.)


Put an egg in the bottom of the container, and pierce the yolk with a fork.


If you do not pierce the yolk, your egg (and microwave) will end up looking something like this.  This is how not to cook your egg in the microwave.  I provide this non-example as a warning.  What a mess!


Add a bit of salt and pepper, or some bacon bits, if you like


Close the lid and put it in the microwave.


Set the microwave for 37 seconds and start cooking the egg.


While the egg cooks, go ahead and pop your english muffin in the toaster, and spread it with butter.


This will take longer than 37 seconds.  This is good.  Leave the egg in the microwave, finishing off cooking in its own steam. Then remove the container from the microwave.


Now you have a tasty egg to go on your breakfast sandwich.


If you can have cheese, I strongly recommend you either add a slice now, or put some shreds in with the ingredients above.  Yum!

I'm curious, what are some good breakfast suggestions for growing kiddos?  If you have any recommendations, leave them in the comments below.


Happy cooking!


Wednesday, January 17, 2024

The Humble Omelette


This morning I awoke thinking of the lovely, complimentary omelette breakfasts we would have when we were traveling on points across Europe and Japan.  I've not made enough omelettes to really master it, so I looked up a recipe (which has much prettier pictures than mine, incidentally, if you are interested) and started chopping up ingredients.


I placed three eggs in the bowl,


added two tablespoons of water,


a generous pinch of kosher salt


and some pepper


and mixed it all together with a fork.


Not having an "eight inch skillet" that was recommended, I improvised, and melted margarine onto the bottom of a pot that seemed about that size across the bottom instead.


I used my spatula as directed to move the egg away from the side and let the uncooked egg have a turn on the hot surface. Once I judged the egg was about "75% cooked" I added my ingredients, adding turkey and chopped bell pepper to the recommended cheese.


Then I attempted the fold.  Ahem.  There are no pictures of what happened next. The cooked egg on the outside tore open while the egg in the middle remained gooey and rather than serve uncooked egg to my husband, I scrambled the thing and plated it in disgust.

On my second go round, I used olive oil spray on the pot instead. I only used two eggs, since I wasn't that hungry, and reduced the water to one tablespoon. I (sadly) omitted the cheese (since I have a dairy allergy).  With only two eggs, the omelette cooked nicely.  Without as much fat in the pan it browned a bit on the outside.


However, the fold went much better, the egg was cooked, and it had a nice omelette-y texture which was a pleasant change from my normal scrambled eggs. And, with just a spritz of cooking spray, this was a zero point breakfast. Yum!


If only I had been able to resist following it up with the last of the cinnamon rolls, it would have been a very healthy choice indeed.

I'm curious, do you have a method you prefer for making omelettes?  I seem to remember putting the lid on and letting the steam complete the cook the last method I used.

Happy cooking!

Monday, January 15, 2024

Sourdough English Muffin Reprise

Today I went back and made a recipe I think I only made one other time before: Sourdough English Muffins.  

I printed out a hard copy of the original recipe I had gotten from another person's food blog.  And I pulled up my own last blog entry about this particular recipe.  I got out my starter and mixed up the dough. I placed a post-it note on there so I knew when it would be ready for the next step.


And then I stayed up way to late playing with this blog, and all the food pictures I had taken, and subsequently slept in.  So 15 hours later (instead of the 7 to 10 hours recommended by the recipe) I assembled my ingredients.  Sugar, whole wheat flour, AP flour, baking soda, salt, and cornmeal.  For the recipe and step by step instructions, please see my previous post.


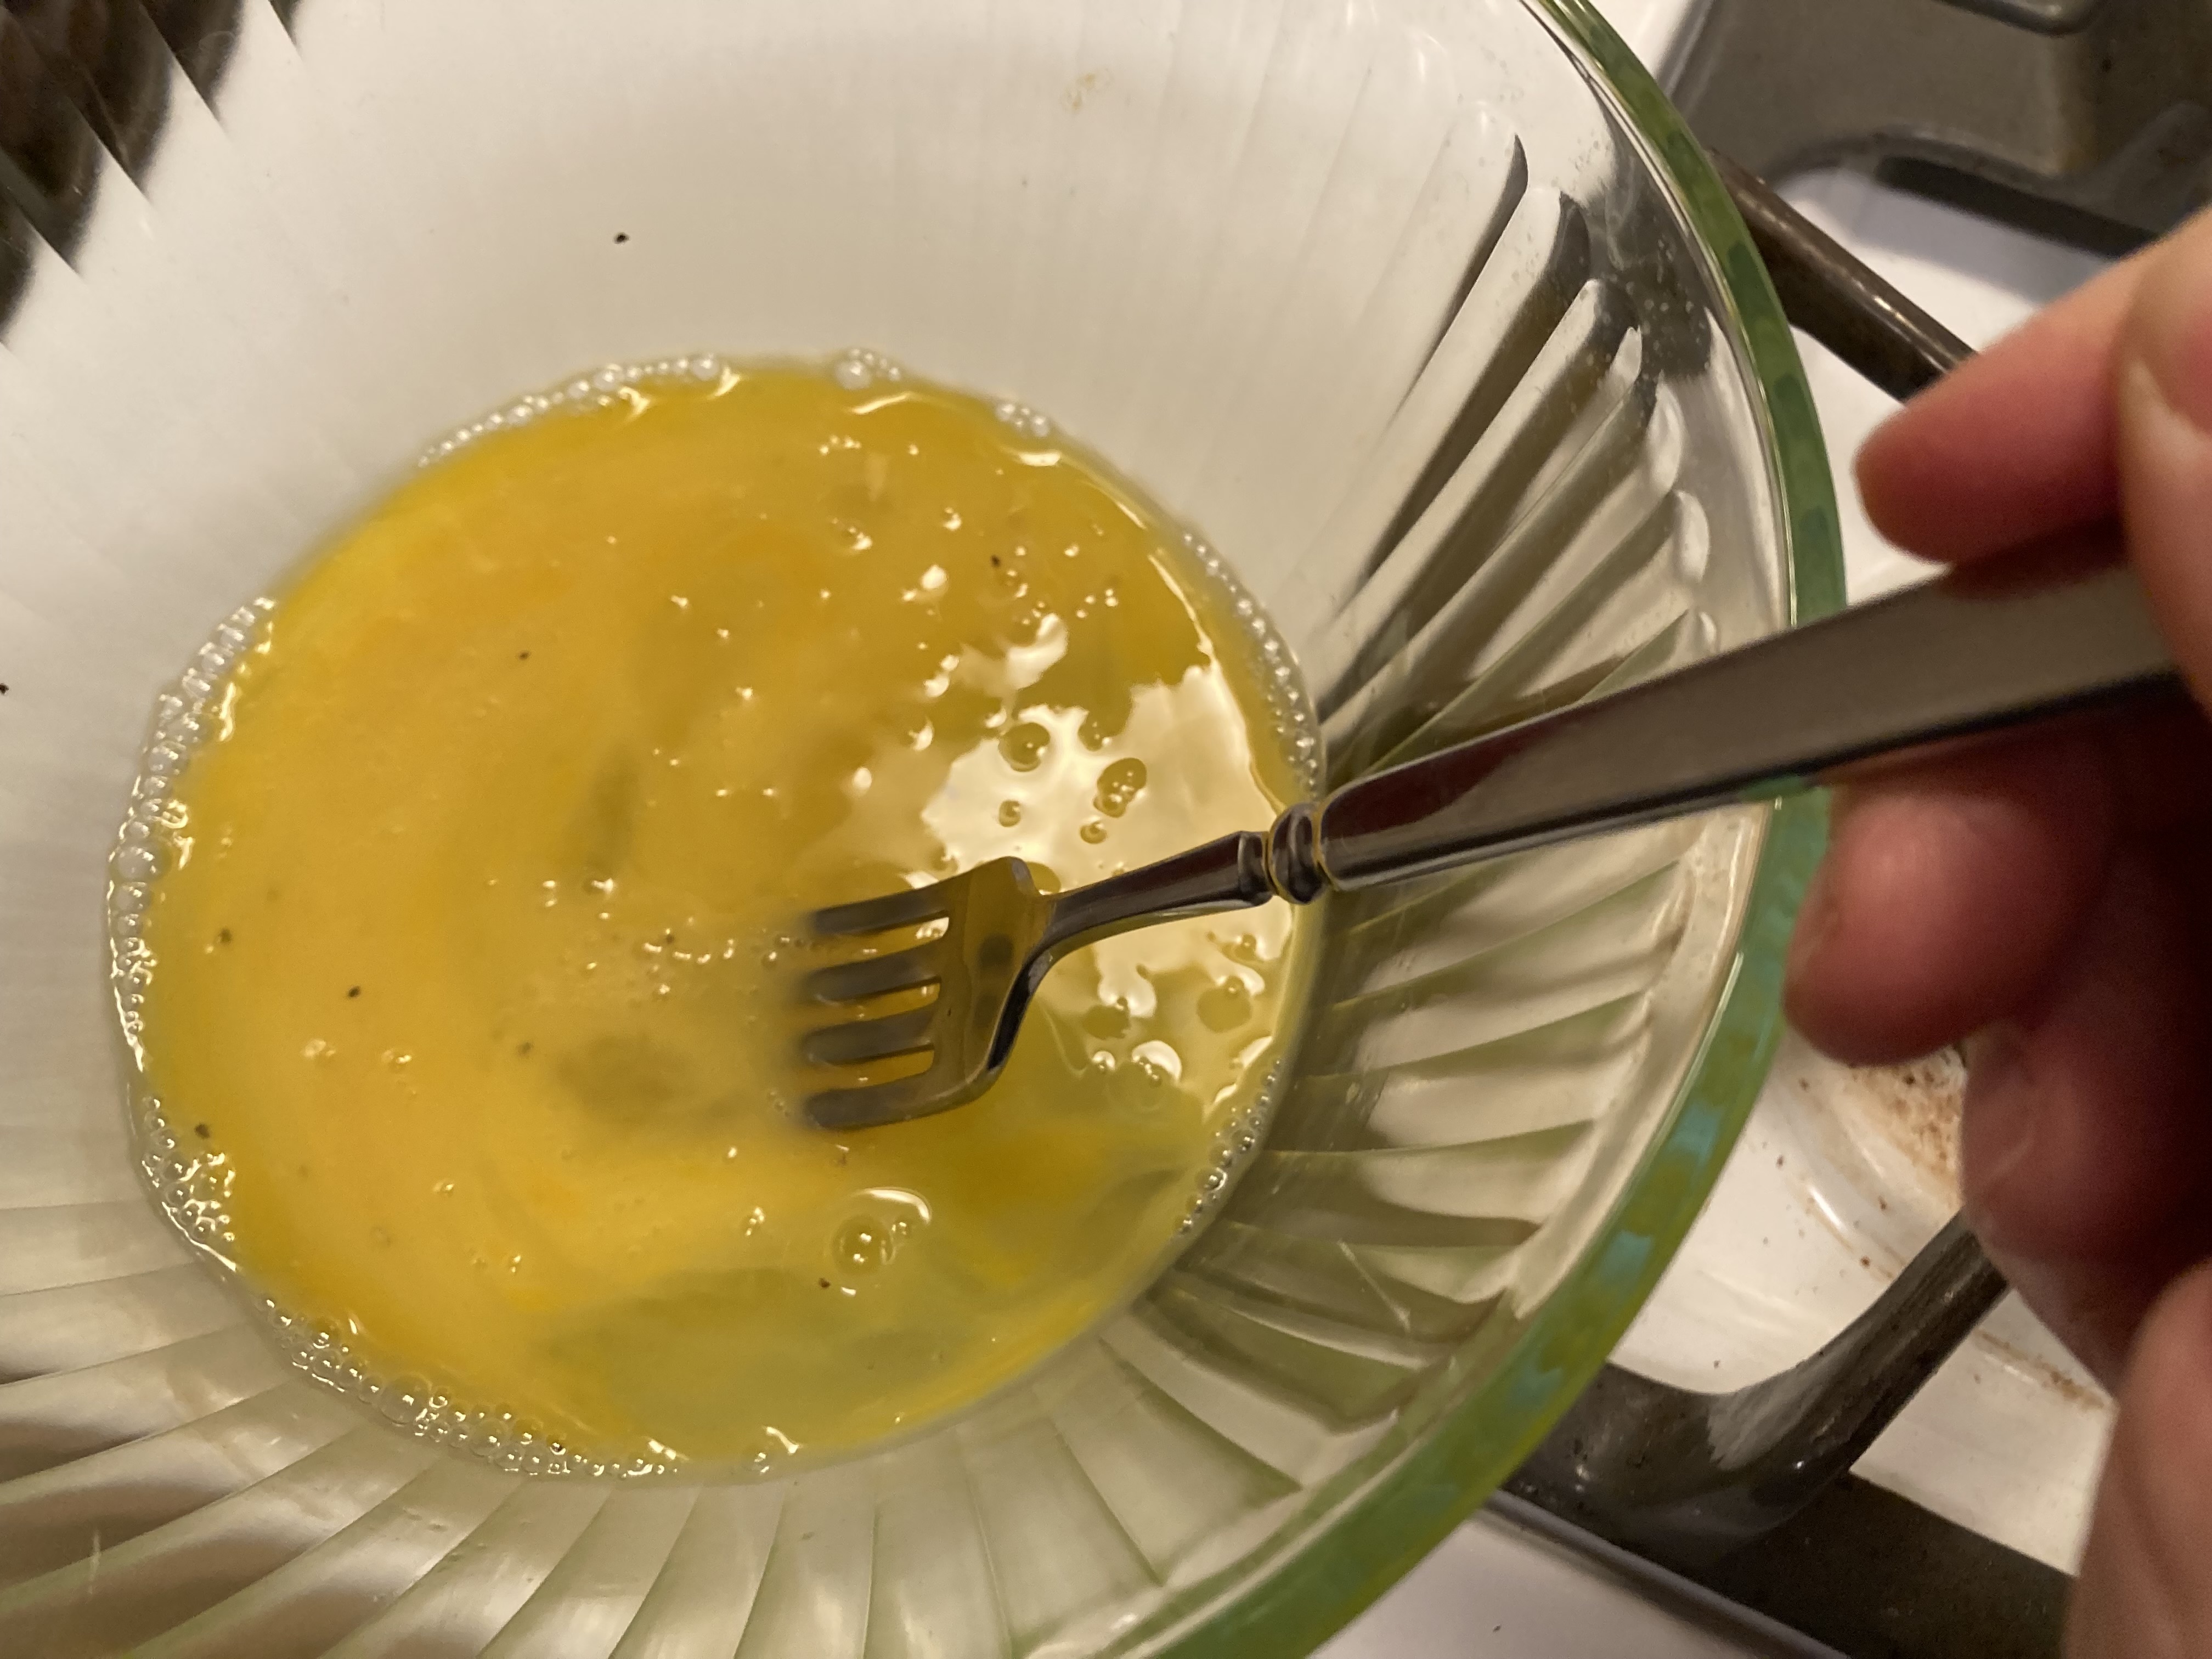
Telling myself that my house is chilly (since it was a modest 18 degrees outside this morning) and that the extra time was probably warranted for the sourdough to bulk up, I began to mix the other dry ingredients in. The dough deflated substantially as I added these things in.


I think I probably had the right idea last time, using the whole wheat flour in the initial dough, but either way works.


The dough came together and was no longer sticky.


I did the final mixing by hand, and then prepared my workspace with flour, and the baking tray generously sprinkled with cornmeal (could have probably used less, but it didn't harm anything).


After I used a cup to make these the last time, I was given biscuit cutters.  I am sure that I have used them at some point, but was thrilled to get them out again today to revisit this recipe. I dipped it in the flour so it wouldn't stick to the dough.


I used my new bench scraper to measure the dough when rolling it out.  I had made it a bit thin, so I actually scrunched it back together so it was the desired height. How handy to have a way to measure it so easily!


I got ready to cut out the first biscuit, and then suddenly decided I didn't want to cut directly on my tabletop.


So I grabbed this mat instead and cut on that.


It didn't seem like there would be room for very many biscuits with the dough at the prescribed thickness, and the recommended size cutter. 


I had my son come and cut one out, just for fun.


I placed them on the baking sheet, and continued cutting.  I balled the left over dough up and cut again.


I ended up with nine circles of dough on the tray when I was through.


I sprinkled cornmeal on top of each one.


I covered them up and let them rest for about an hour.  (The recipe says 45 minutes, but as I mentioned, it is chilly here today, so I gave them some extra time.)


Here's what they looked like after their rest.

Next, they went into the non-stick skillet, careful not to touch.

The first batch I did based on time.  There were no little bubbles on top to show me when they were done, as the dough had seemed to dry like a skin on the top while resting.  Based on the time, they ended up a little darker brown than I liked.

So I went easier on the next round, turning the heat down just a bit (medium on my gas stove top seems to be a bit hotter than medium on my electric range was) and cooking them a little less time on each side.

It was fun to cook along with "past me" by having my blog up to look at.

However, this time there was no rejoicing in those "big beautiful holes" because the crumb was not that open.  I am not sure if my baking soda is old and had an effect on the rise, or if it is the temperature of my kitchen.

However, they look and taste like english muffins, were not as labor-intensive as I had remembered, and were tasty with homemade jam, as well as in a McMuffin-style with meat and egg.

Enjoy!